No-Till Farming for Small Acreage: A Beginner's Field Guide
Learn how to build healthier soil, reduce labor, and boost yields without plowing or tilling
No-Till Farming for Small Acreage: A Beginner's Field Guide
No-till farming means growing crops without plowing, disking, or turning over the soil. Instead of mechanical disruption, you build soil health by keeping it covered and letting natural processes do the work. For small-acreage farmers, no-till methods reduce labor, improve water retention, and create thriving ecosystems beneath your feet.
This approach works whether you're managing a quarter-acre market garden or a 10-acre vegetable operation. Let's break down exactly how to get started.
Why No-Till Works for Small Farms
Conventional tillage breaks up soil aggregates, kills beneficial fungi, and releases carbon into the atmosphere. Every time you run a tiller, you're disrupting millions of organisms that help plants access nutrients.
No-till farming preserves soil structure. The benefits include:
- Better water infiltration: Undisturbed soil can absorb up to 2 inches of rain per hour compared to less than half an inch in compacted, tilled ground
- Reduced erosion: Plant roots and fungal networks hold soil in place
- Lower labor costs: No fuel, equipment maintenance, or hours on a tractor
- Improved soil biology: Earthworm populations can increase by 300% within three years
- Higher organic matter: Decomposing cover crops and mulch build fertility over time
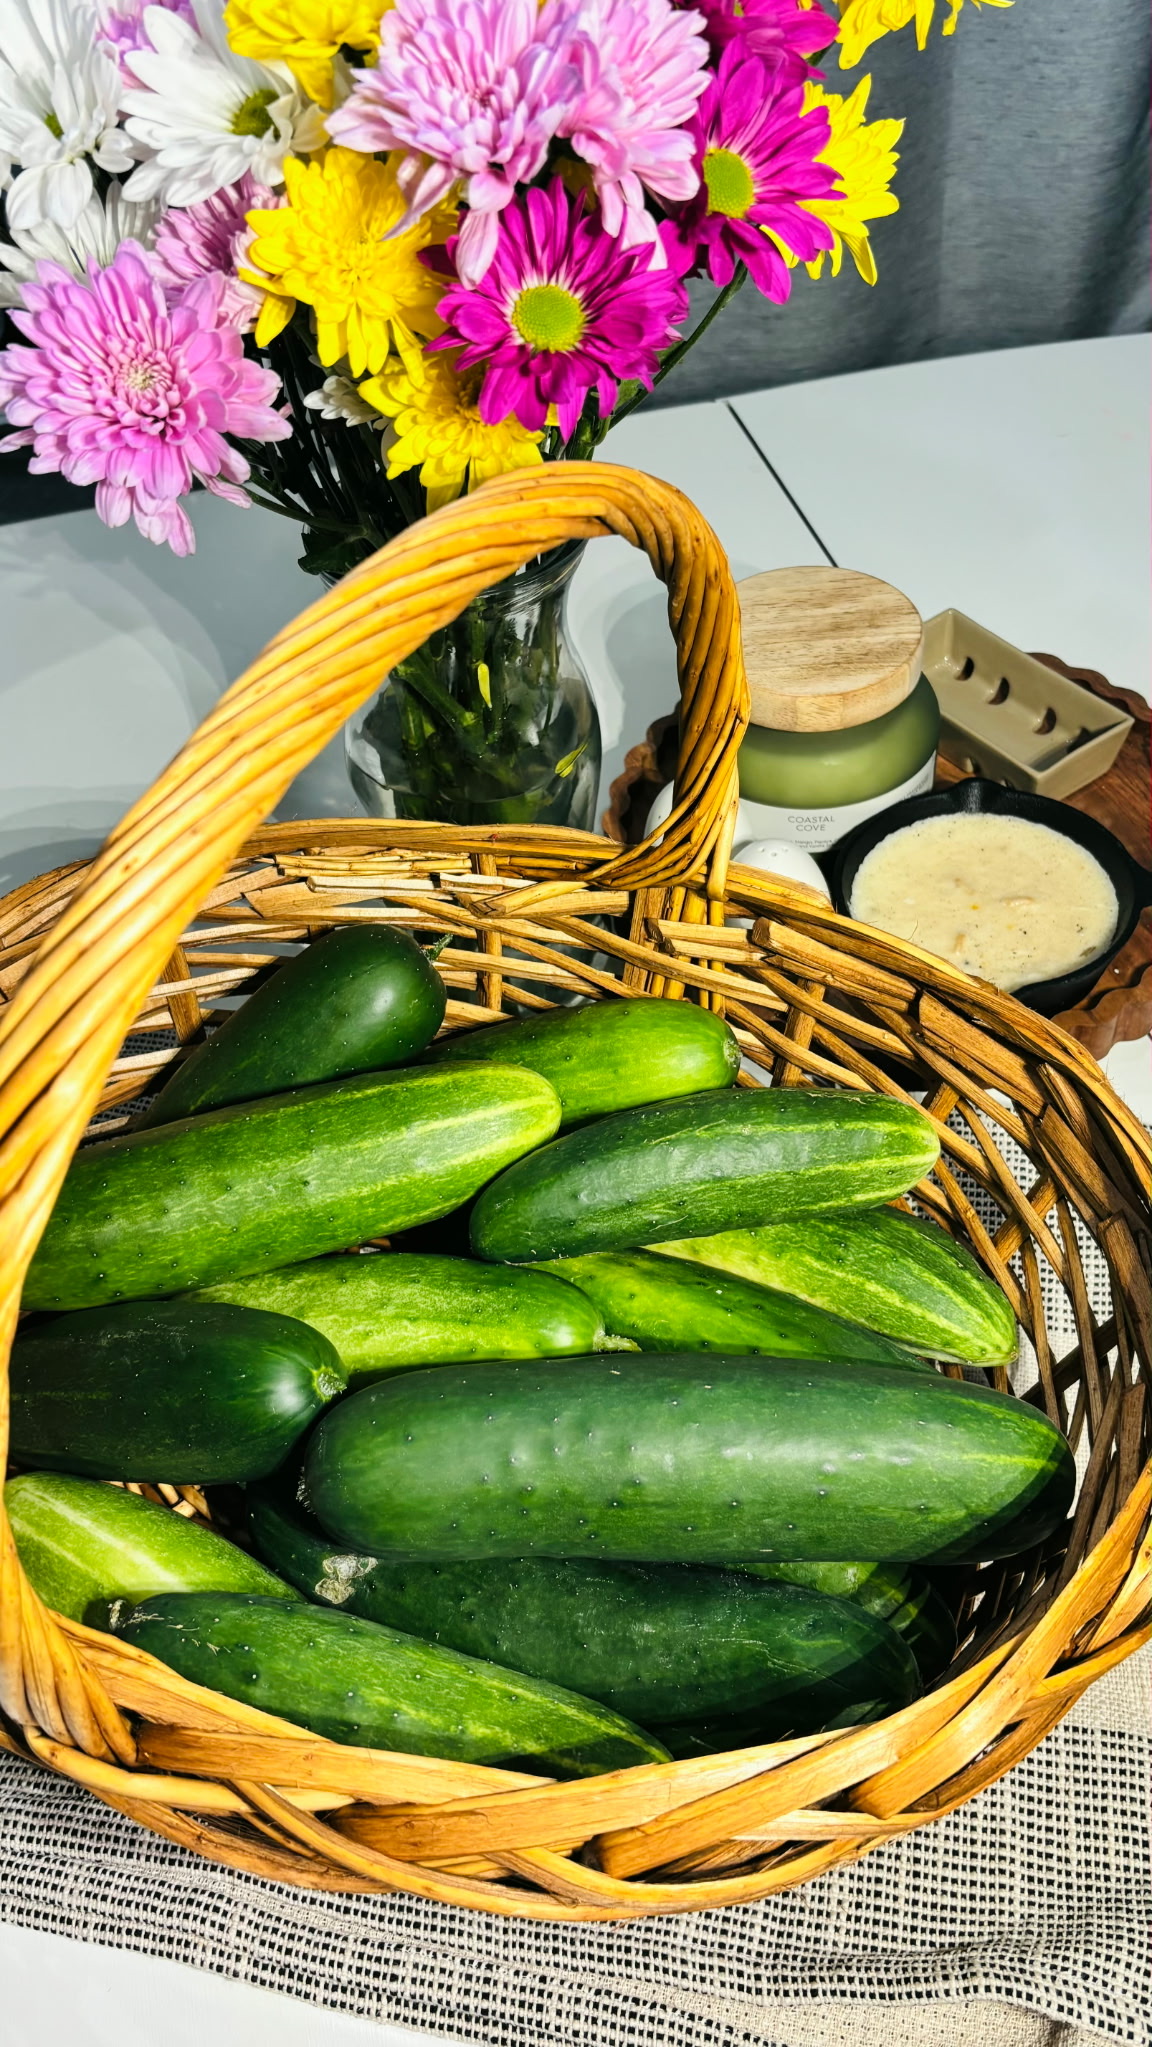
Many growers on platforms like CuzHens Market have switched to no-till methods and report stronger plants with fewer pest problems.
Essential No-Till Techniques
Permanent Bed Systems
Create raised beds or flat planting zones that you never walk on or till. Mark pathways clearly and stick to them. Beds typically measure 30 to 48 inches wide for easy reach from both sides.
Once established, these beds maintain their structure year after year. You'll only disturb the top few inches when transplanting or direct seeding.
Mulching Strategies
Mulch is your primary weed suppression and moisture retention tool. Options include:
- Straw or hay: Apply 4 to 6 inches for vegetable beds
- Wood chips: Best for perennial crops and pathways, not annual vegetables
- Compost: A 1 to 2-inch layer feeds soil life and suppresses weeds
- Landscape fabric or silage tarps: Occultation method that kills weeds through light deprivation
Cover Cropping
Cover crops protect and feed the soil between cash crops. They're essential in no-till systems.
For small farms, try these combinations:
- Spring: Oats and field peas (terminate before setting seed)
- Summer: Buckwheat for quick biomass in 35 to 45 days
- Fall/Winter: Cereal rye and crimson clover (winter-hardy in most zones)
Terminate cover crops by:
- Mowing and leaving residue as mulch
- Crimping with a roller-crimper when stems reach the flowering stage
- Tarping for 3 to 4 weeks to create a decomposed mat
Step-by-Step: Transitioning Your First Bed
Starting with one or two beds helps you learn the system before scaling up.
Step 1: Prepare the Ground
If you're converting from lawn or pasture, mow vegetation short. Lay down cardboard (remove tape and labels) or several layers of newspaper. Overlap edges by 6 inches to prevent weeds from sneaking through.
Step 2: Add Compost and Mulch
Spread 2 to 3 inches of finished compost over the cardboard. Top with 4 inches of straw or another mulch. Water thoroughly to help decomposition begin.
Step 3: Wait or Plant
For immediate planting, create pockets in the mulch for transplants. For a stronger start, wait 4 to 6 weeks and let the cardboard break down before planting.
Step 4: Maintain Without Tilling
Pull weeds by hand when small. Add more mulch as the previous layer decomposes. Side-dress with compost during the growing season. Never turn the soil.
Tools and Equipment
No-till farming needs fewer powered tools but some specialized hand implements:
- Broadfork: Loosens compacted soil without inversion (12 to 14-inch tines work well)
- Hori-hori knife: Cuts through mulch for transplanting
- Stirrup hoe: Severs weeds just below the surface
- Silage tarps: 5-mil or thicker black plastic for occultation
- Roller-crimper: For larger operations terminating cover crops (can be DIY)
- Backpack sprayer: For applying compost tea or organic foliar feeds
You won't need a tiller, plow, or disk harrow. The money saved on equipment often pays for quality compost and cover crop seed.
Managing Challenges
Dealing with Perennial Weeds
Quackgrass, bindweed, and Canada thistle require persistence. Use occultation tarps for 8 to 12 weeks during the growing season. The heat and darkness exhaust root reserves. Follow up with dense cover crops.
Handling Compaction
If soil is severely compacted from previous use, a one-time broadforking helps. Insert the tool, rock it back gently, and move backward down the bed. This creates air channels without mixing layers.
Slug and Pest Pressure
Mulch can harbor slugs in wet climates. Keep mulch pulled back 2 to 3 inches from plant stems. Encourage predators like ground beetles by maintaining habitat diversity.
Common Questions
How long before I see results? Most growers notice better soil structure within one season. Significant improvements in water retention and organic matter take 2 to 3 years.
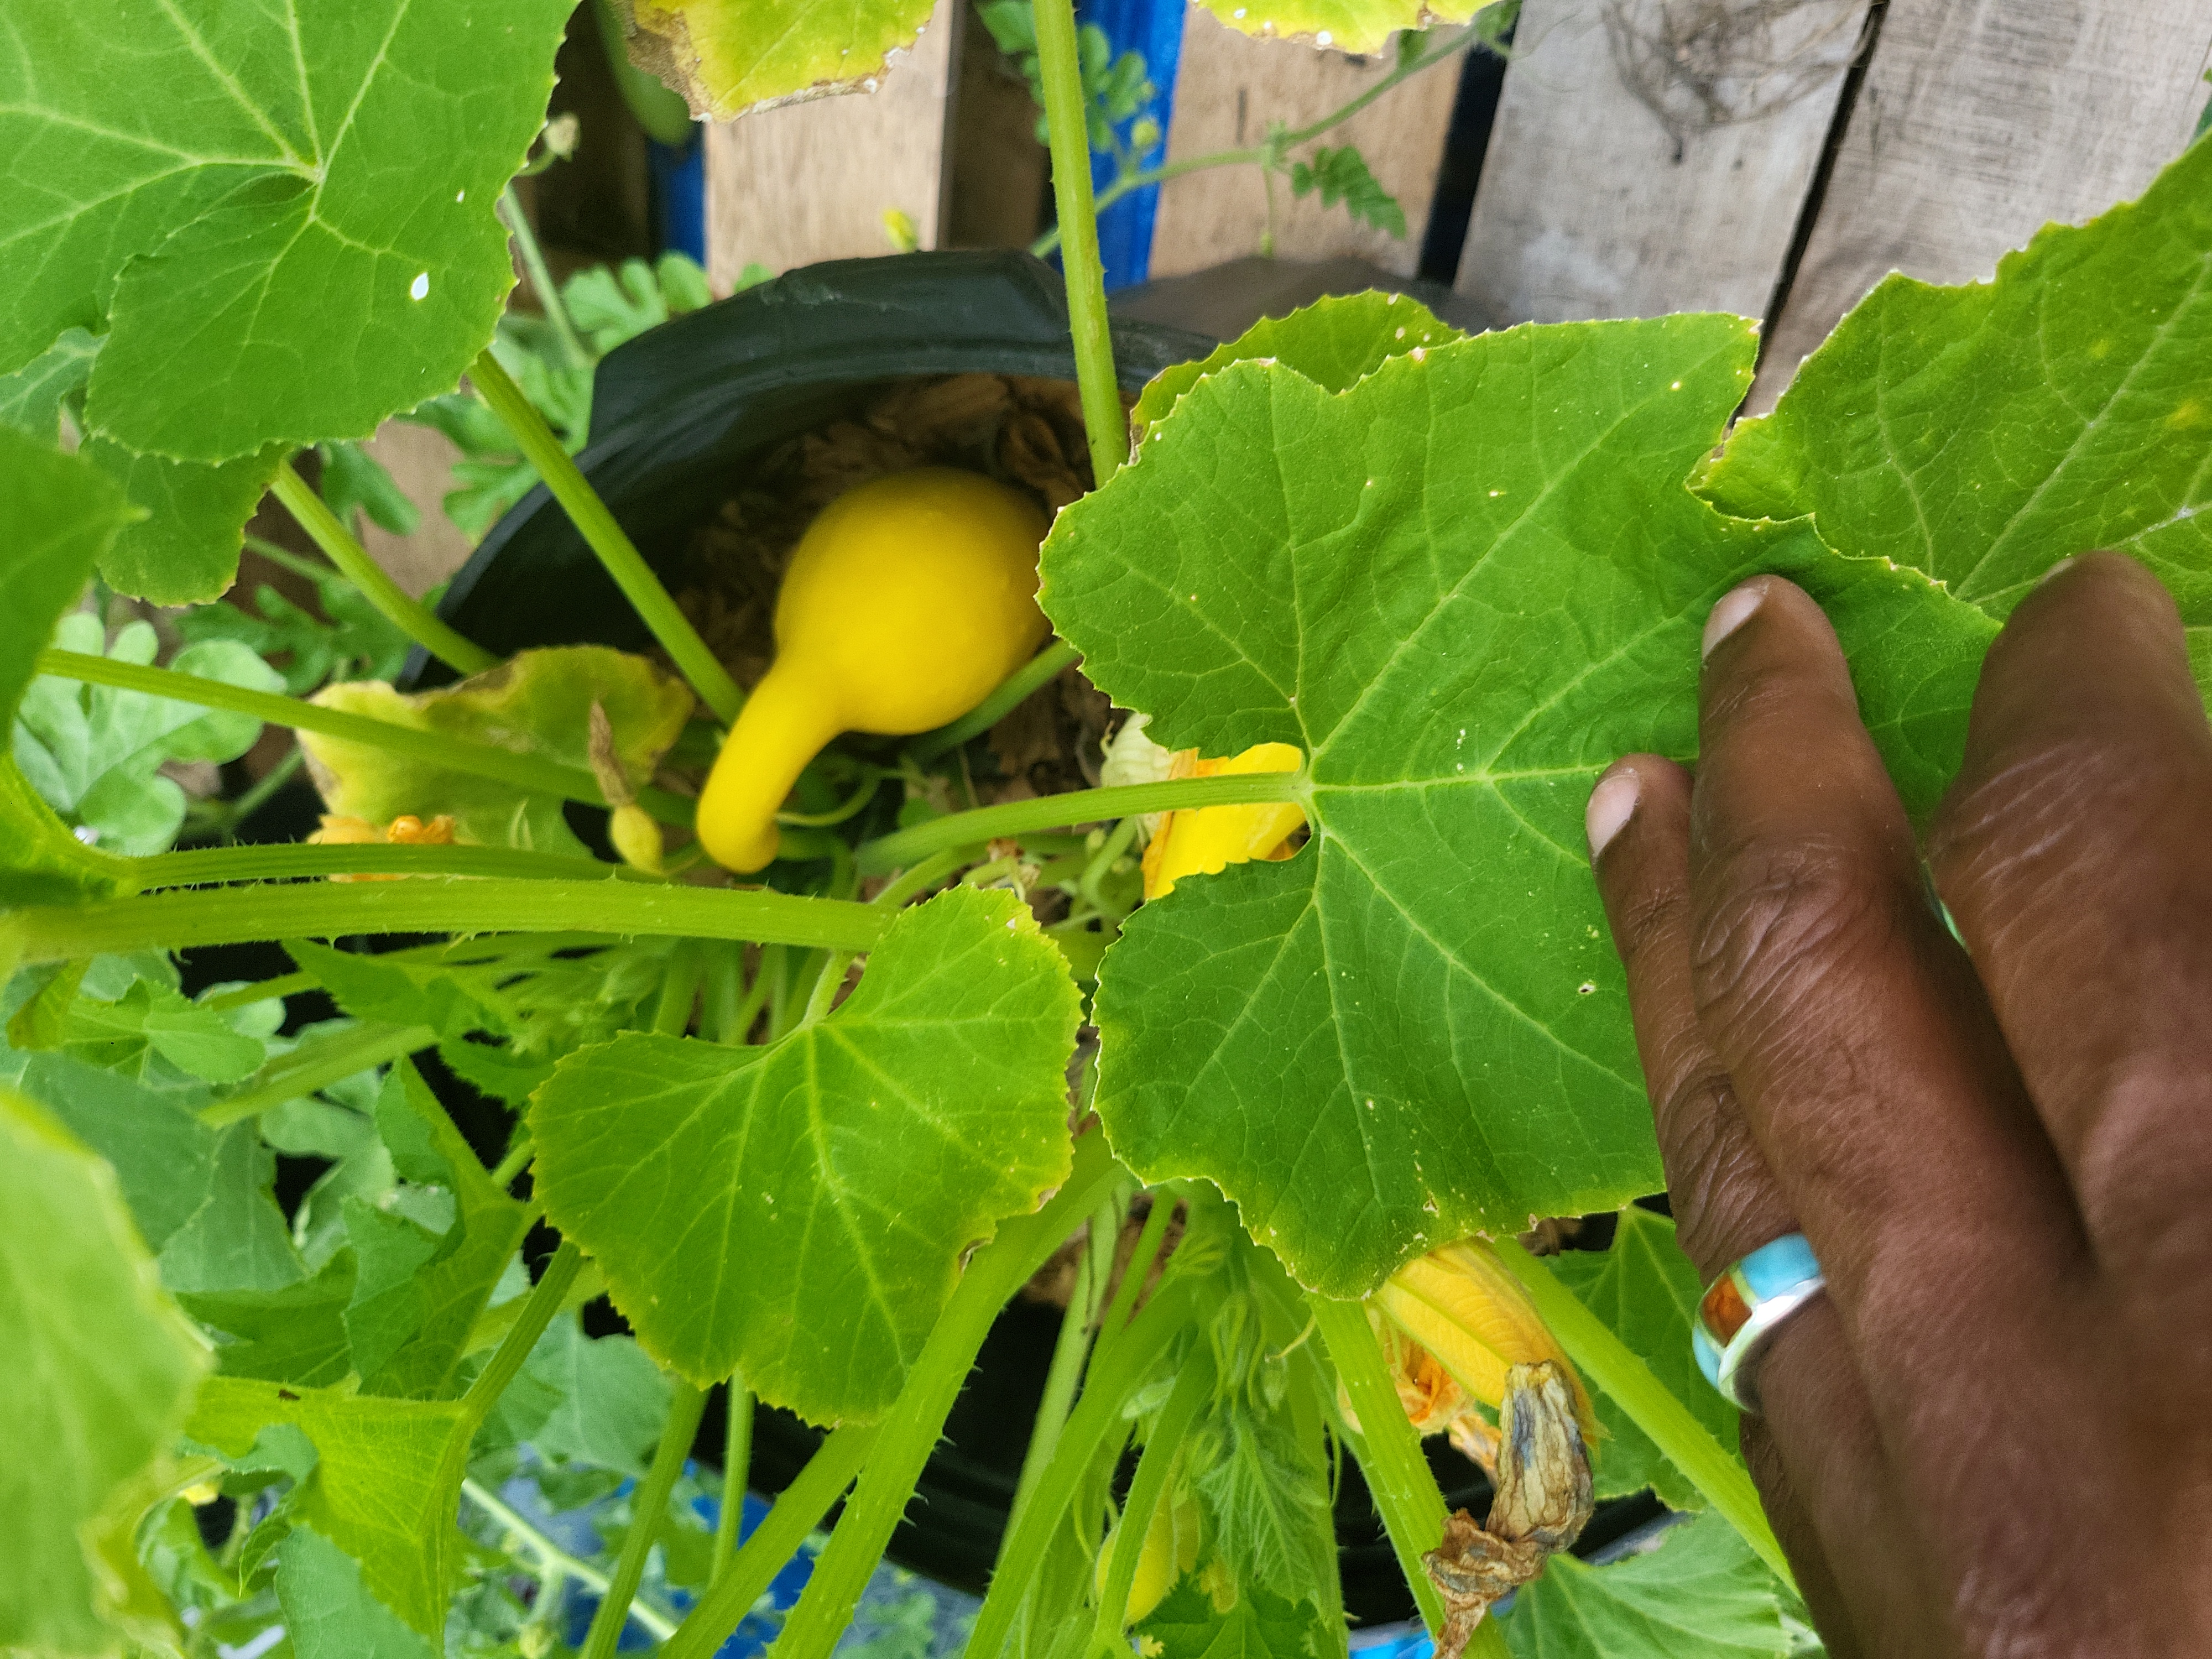
Can I use no-till for root vegetables? Yes. Carrots, beets, and radishes grow well in loose, compost-rich no-till beds. Potatoes thrive under deep straw mulch without any digging.
What if I already own a tiller? Keep it for now, but challenge yourself to leave one bed untilled as a comparison. You might find you prefer the no-till results.
Do I need to buy compost every year? Initially, yes, unless you produce enough on-site. As your soil improves, you'll need less external inputs. Many small farms reduce compost purchases by 50% after three years.
Will my yields drop during transition? Some growers experience a slight dip in year one as soil biology adjusts. By year two, most report yields equal to or better than tilled systems, with significantly healthier plants.
Got a follow-up question or a tip of your own? Take it to the Community board.